How it works
The S3 connector retrieves all documents stored in a specified Amazon S3 bucket, supporting a range of file formats such as PDF, DOC, DOCX, TXT, and others. Document syncing occurs once every 24 hours.Setting Up
Authorization
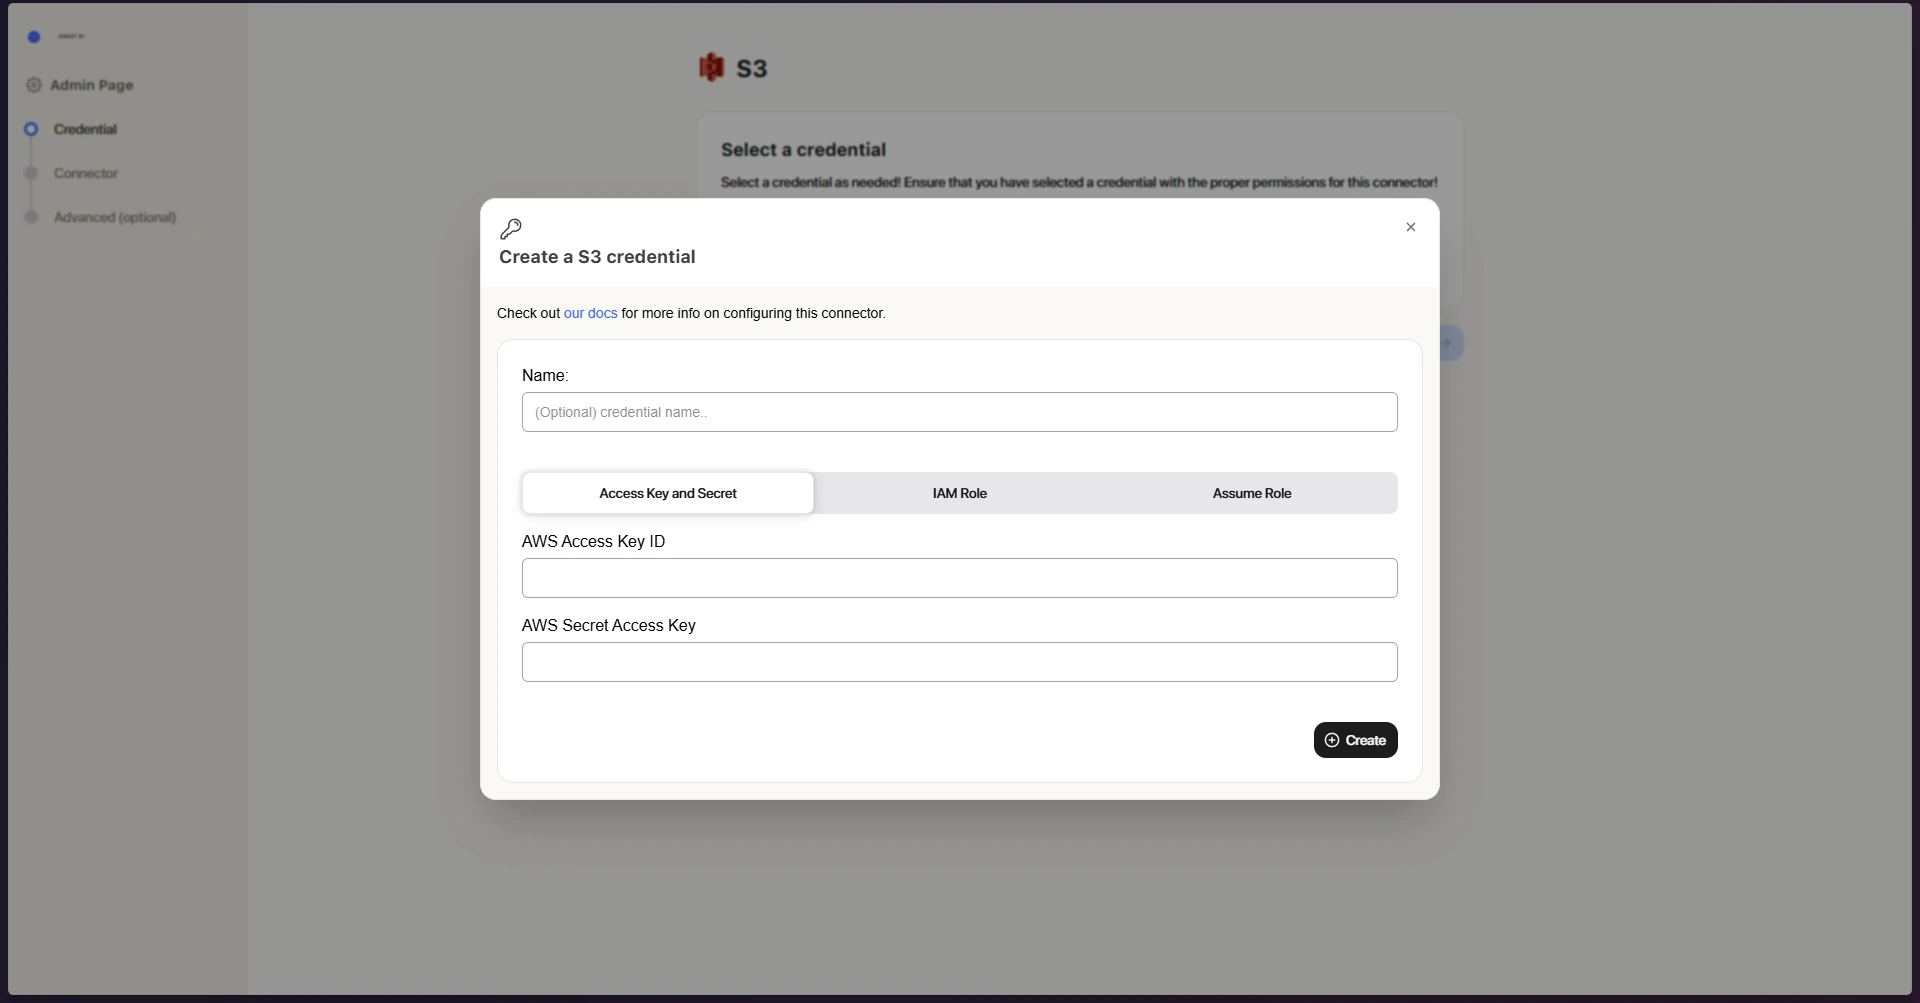
Three authorization methods are available - choose whichever best suits your setup:- AWS Access Keys – Authenticates using standard access key credentials
- IAM Role-Based Authorization – Leverages AWS IAM roles for enhanced security
- Assume Role – Automatically draws on the EC2 instance’s assigned role to access S3
Indexing
- Open the S3 connector Go to the ASSIST AI Admin Panel and navigate to the S3 Connector.
- Configure authorization In Step 1, set up your authorization method. Select from existing credentials, or click Create New to add fresh ones: Access Keys (enter your AWS Access Key ID and Secret Access Key), IAM Role (enter your Role ARN), or Assume Role (no credentials needed).
- Save your configuration Click Create to store your settings.
- Proceed with your credential Make sure the correct credential is selected, then click Continue.
- Enter bucket details In Step 2, fill in your S3 bucket information: a Connector Name, the Bucket Name, an optional Prefix to narrow indexing to a specific path, and the Access Type (Public or Private).
- Launch the connector Click Create Connector to kick off indexing.