
Guide
Configure ASSIST AI to use models served by LM Studio. ASSIST AI includes a built-in integration with LM Studio that automatically discovers your loaded models, including their capabilities (such as vision and reasoning) and context length.- Set Up LM Studio and Load Your Models Download LM Studio from lmstudio.ai and load the models you wish to use. Start the LM Studio local server using the following command:
- Navigate to the AI Model Configuration Page Access the Admin Panel via your user profile icon → Admin Panel → LLM.
- Configure LM Studio
- Select LM Studio from the list of available providers. Assign a Display Name to your provider.
- Set the API Base URL to your LM Studio server address (e.g.,
http://localhost:1234). ASSIST AI will automatically connect and discover your loaded models.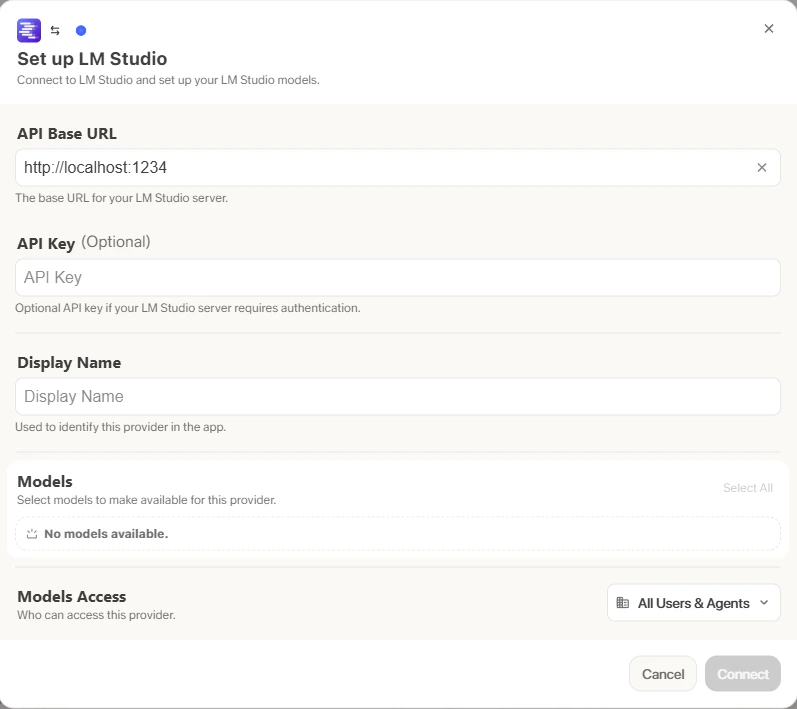
- Configure Default and Fast Models The Default Model is automatically selected for new custom Agents and Chat sessions. Designating a Fast Model is optional - this model is used behind the scenes for quick operations such as evaluating message types, generating query variations (query expansion), and naming chat sessions. If you choose a Fast Model, ensure it is a relatively quick and cost-effective option such as
GPT-4.1-miniorClaude 3.7 Sonnet. - Choose Visible Models Under Advanced Options, you will find a full list of models available from this provider. You can select which models are visible to your users within ASSIST AI. This is particularly useful when a provider offers multiple models and versions of the same model.
- Designate Provider Access Finally, you can choose whether the provider is publicly accessible to all users in ASSIST AI. If set to private, the provider’s models will only be available to Admins and the User you explicitly assign the provider to.