> ## Documentation Index
> Fetch the complete documentation index at: https://docs.tryassist.in/llms.txt
> Use this file to discover all available pages before exploring further.
# Bitbucket
## How it works
The Bitbucket Connector indexes all Pull Requests from a specified Bitbucket Cloud repository, project, or entire workspace.
* It covers `OPEN`, `MERGED`, and `DECLINED` pull requests, including their titles and descriptions.
* It also captures key metadata such as the author, reviewers, current status, creation and update timestamps, and a direct link back to the original pull request in Bitbucket.
## Setting Up
This connector is compatible with Bitbucket Cloud only.
## Authorization
The Bitbucket Connector authenticates using an API Token. To generate one, follow these steps:
1. **Log in to Bitbucket** Sign in to your Bitbucket account.
2. **Open Account Settings** Click the Settings cog in the upper-right corner of the navigation bar.
3. **Access Atlassian Account Settings** Under Personal settings, select Atlassian account settings.
4. **Go to the Security Tab** Click the Security tab in the top navigation bar.
5. **Manage API Tokens** Select Create and manage API tokens.
6. **Create a Scoped Token** Click Create API token with scopes.
7. **Name the Token** Give your token a descriptive name and set an expiry date, typically reflecting the application it will be used with, then click Next.
8. **Choose Bitbucket** Select Bitbucket as the app and click Next.
9. **Select Scopes** Choose the required permissions and click Next:
* Projects: `read:project:bitbucket`
* Repositories: `read:repository:bitbucket`
* Pull Requests: `read:pullrequest:bitbucket`
10. **Create the Token** Review your settings and click Create token. The token will be displayed on screen.
11. **Save the Token** Copy the token and store it securely or paste it directly into ASSIST AI.
**Important:** The token is only shown once and cannot be retrieved afterward.
For the most current instructions, refer to the [official Bitbucket documentation.](https://support.atlassian.com/bitbucket-cloud/docs/create-an-api-token/)
## Indexing
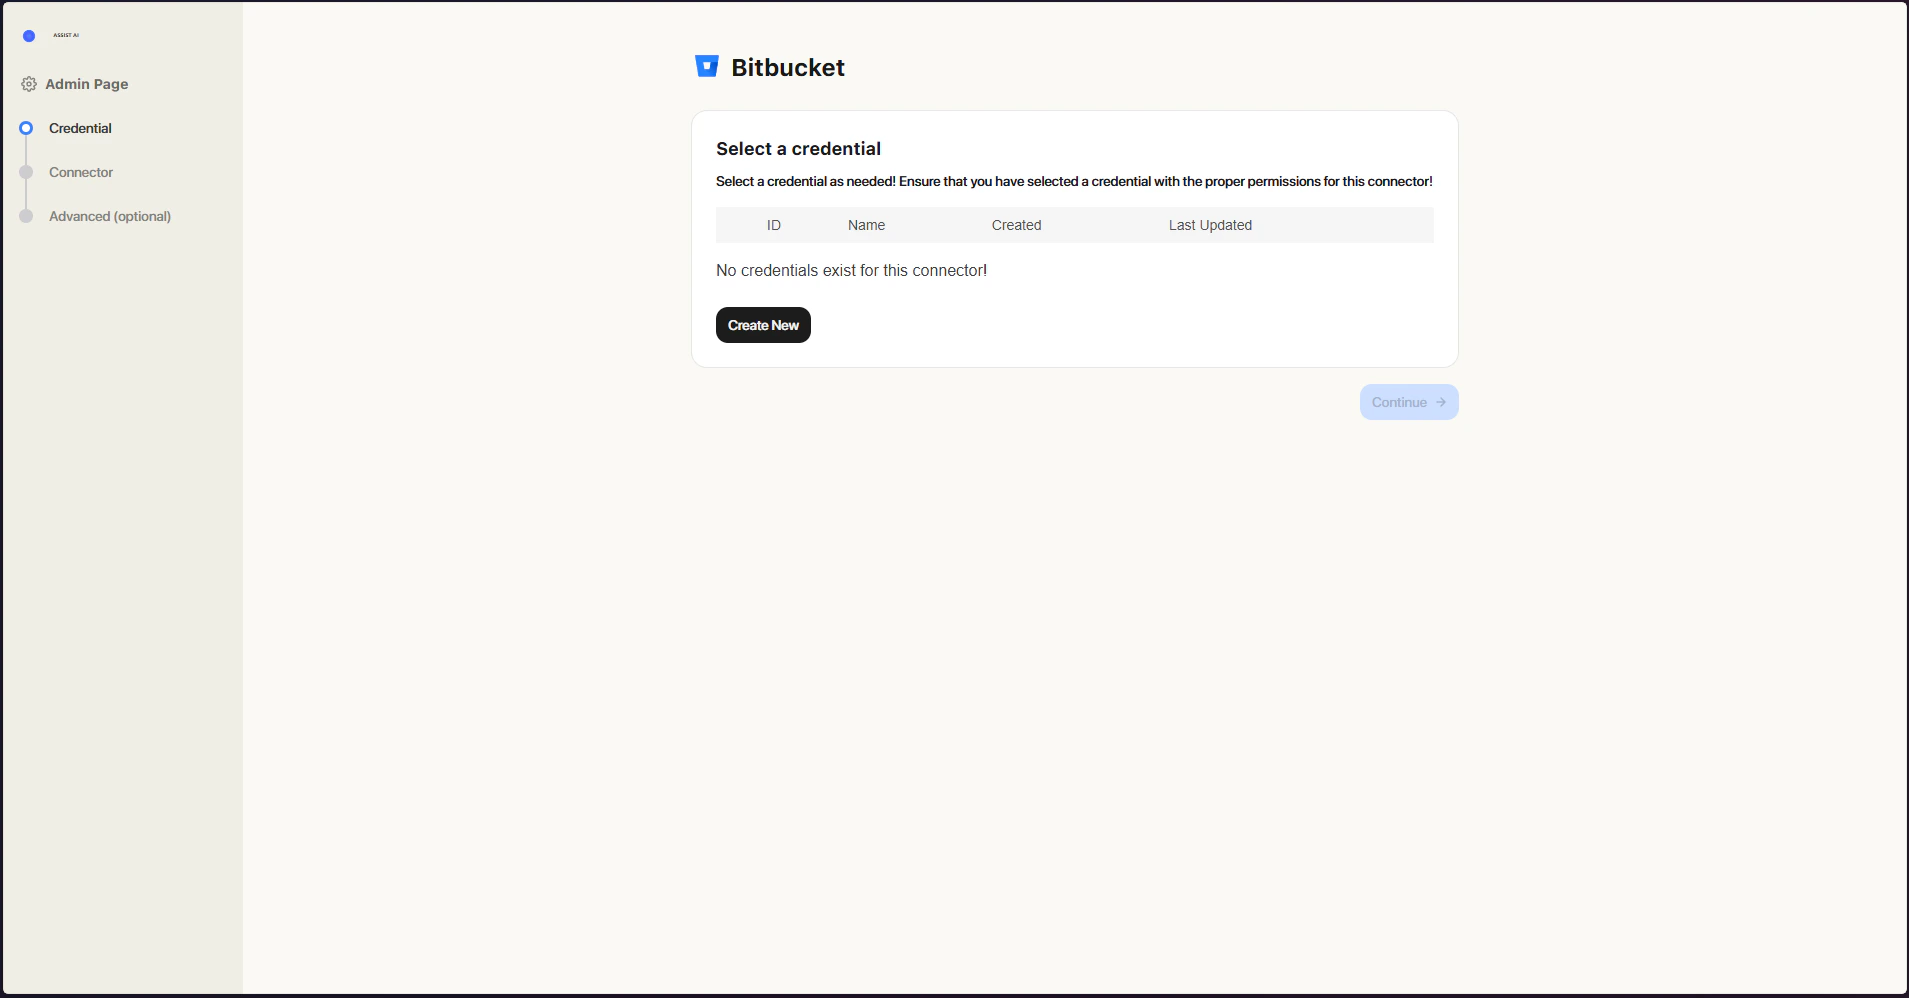
1. **Open the Bitbucket connector**
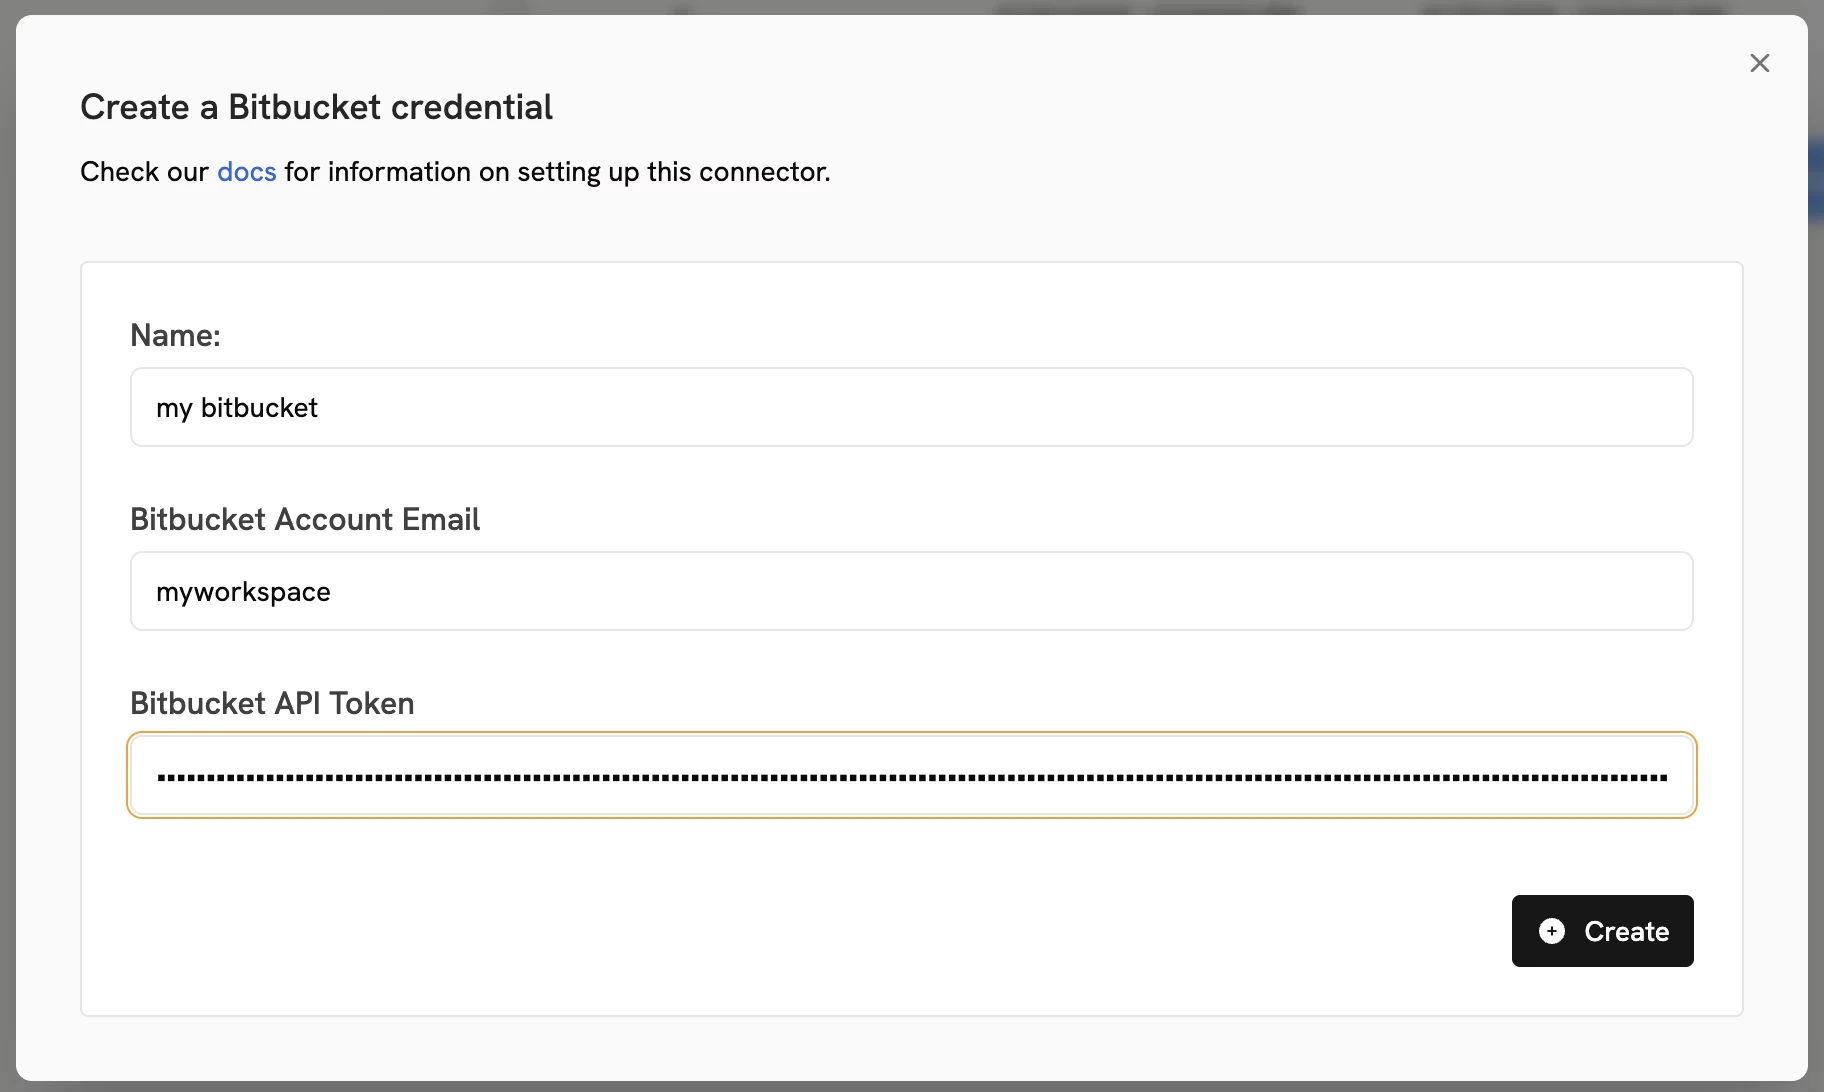
2. **Create Credentials** Click Create new credentials and fill in the following:
* **Name:** A descriptive label for your credentials.
* **Email:** The email address associated with your Bitbucket account.
* **API Token:** The token you generated in the previous step.
 3. **Configure Connector Details** Complete the connector setup with the following information:
* **Name:** A descriptive name for the connector.
* **Workspace Name:** The `WORKSPACE_NAME` from your Bitbucket URL (`https://bitbucket.org/{WORKSPACE_NAME}/...`).
* **Repositories or Projects (Optional):** A comma-separated list of repository slugs or project keys to index. You can also configure this to index all repositories within a specific project or across an entire workspace.
3. **Configure Connector Details** Complete the connector setup with the following information:
* **Name:** A descriptive name for the connector.
* **Workspace Name:** The `WORKSPACE_NAME` from your Bitbucket URL (`https://bitbucket.org/{WORKSPACE_NAME}/...`).
* **Repositories or Projects (Optional):** A comma-separated list of repository slugs or project keys to index. You can also configure this to index all repositories within a specific project or across an entire workspace.